The first step in repainting your house isn’t picking a color. It’s getting the surface clean, sound and ready to hold paint. Painting over dirt, mildew or flaking paint just means the new coat peels off with it. If you want to know how to prep a house exterior for painting the right way, this is the part that makes or breaks the whole project.
Professional painters often say prep is 70 percent of the job. Here’s what that looks like, step by step.
Why prep matters so much
Paint bonds to whatever it touches. If that’s a layer of road grime, chalky old paint or mildew, the bond is only as strong as that layer. Within a season or two, you’ll see peeling, bubbling and dark spots coming back through.
Good prep also gives you a chance to catch problems early: soft wood, open seams and gaps where water gets in. Fixing those before you paint protects the house, not just the finish.
How to prep a house exterior for painting, step by step
1. Inspect and test
Walk around the house and look closely at siding, trim, window sills and doors. Note anything peeling, cracked, soft or stained.
If your home was built before 1978 (and many Philadelphia rowhomes and South Jersey houses were), assume there may be lead paint under the newer layers until a test says otherwise. Lead test kits are inexpensive. If the test is positive, don’t dry-scrape, power-sand or blast it with a pressure washer, because that spreads lead dust and chips around your yard and your neighbors’.
2. Protect the area
Cover plants, walkways and AC units with drop cloths. Close windows, and move outdoor furniture, grills and planters away from the walls.
3. Wash the siding
Clean surfaces are the foundation of a lasting paint job. You have two main options:
- Hand washing: A garden hose, a soft-bristle brush on an extension pole and a house-wash solution. It’s slower but gentle, and it works well on most homes.
- Pressure washing: If your exterior is particularly dirty, renting a pressure washer can save time and help lift off loose, peeling paint. Use a wide-angle tip (25 or 40 degrees), keep the wand a couple of feet from the surface, and spray downward at an angle so water doesn’t get driven up behind siding or into windows and vents.
For mildew (black or green spots, common on shady north walls), use a mildewcide cleaner and scrub, then rinse well. Work from the bottom up when applying cleaner to avoid streaks, then rinse from the top down.
4. Let it dry completely
This is where many DIY jobs go wrong. Siding needs at least a day or two of dry weather before you paint, and bare wood may need longer. In humid Philadelphia summers, give it extra time.
5. Scrape loose paint
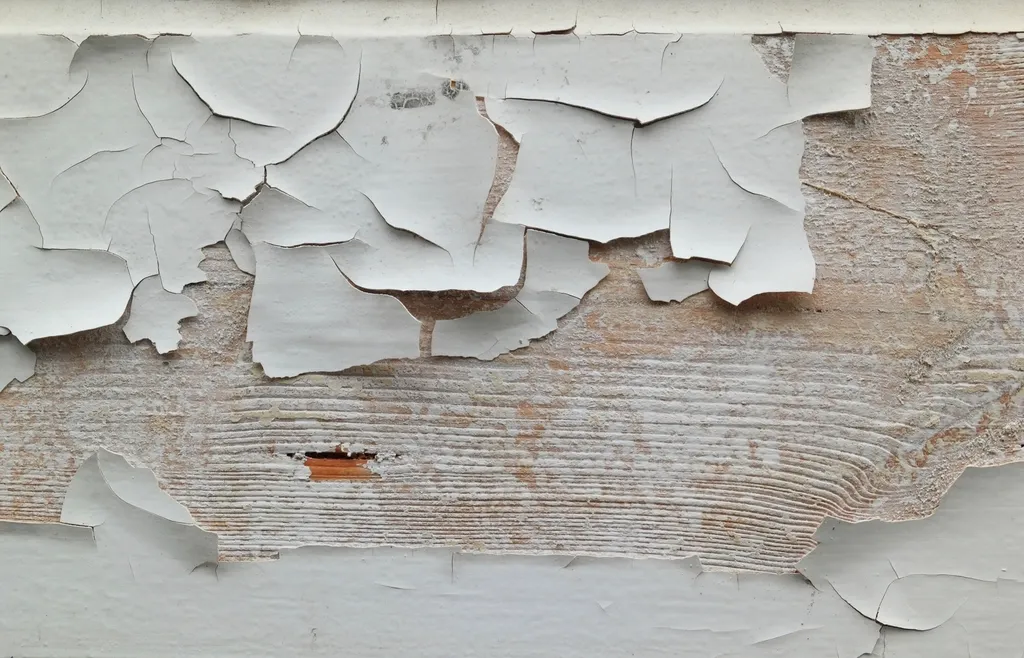
Use a sturdy paint scraper to remove anything flaking, cracked or blistered. You’re not trying to strip the house to bare wood; you only need to remove paint that isn’t firmly attached. A wire brush helps in grooves and on detailed trim.
Wear safety glasses, gloves and a dust mask, and lay drop cloths below to catch chips.
6. Sand the edges
Where you’ve scraped, there’s a ridge between bare wood and the remaining paint. Sand those edges smooth with 80- to 120-grit sandpaper so they don’t show through the new coat. Lightly scuff glossy areas so the new paint can grip.
7. Repair damage
Now’s the time to fix what you found during your inspection:
- Dig out small spots of soft wood and fill with exterior wood filler or epoxy
- Replace trim boards or siding that are badly rotted
- Reset popped nails and fill the holes
- Replace cracked or missing window glazing
Rotted trim is one of the most common things we find on older homes, especially around window sills and the bottoms of door frames where water sits.
8. Caulk gaps and seams
Use a paintable exterior caulk to seal gaps around windows, doors and trim, and where trim meets siding. Don’t caulk the bottom edge of lap siding, because that’s where trapped moisture escapes. Let caulk cure per the label before painting.
9. Prime bare and repaired areas
Spot-prime any bare wood, filler and new boards with a quality exterior primer. Stains from tannin-rich woods like cedar, or water stains, may need a stain-blocking primer. If you’re making a dramatic color change, a full coat of tinted primer can save you a finish coat.
Seasonal timing in our area
Prep work has its own weather needs. Wash on a mild day so the siding dries quickly, and plan prep for late spring or early fall, the same windows that are best for painting in the Philadelphia and South Jersey climate. Avoid washing right before a cold snap: water that gets into cracks can freeze and make damage worse.
Prep usually takes longer than the painting itself. Build in enough days so you’re not rushing to paint before the siding is fully dry.
Safety notes
- Pressure washers can cause serious injuries. Never point the wand at people, pets or your own feet, and never use one from a ladder.
- Ladders and water don’t mix. Wet rungs are slippery, so keep your shoes and ladder dry.
- Chemicals: Wear gloves and eye protection with cleaners and mildewcides, and never mix bleach-based products with ammonia or other cleaners.
- Lead: If you suspect lead paint, use lead-safe practices or hire a contractor trained in them.
When to call a pro
Surface prep is hard, dusty work, and it often uncovers repairs that need real carpentry skills. Call a pro if:
- You find soft or rotted trim, sills or siding
- The house has tall walls that aren’t safe to reach from a ladder
- Old paint is failing over large areas
- You suspect lead paint on an older home
- You’d rather spend your weekends on something else
We handle the whole process, from washing and scraping to carpentry repairs and exterior work like trim and siding, then finish with professional painting. We show up with the tools and materials needed and stand behind our Done Right Promise. Request a quote for your home in Philadelphia, the suburbs or South Jersey.